Jun 15, 2026
How to Deploy vLLM in Production with Docker (2026)
vLLM
GPU Pods
Run vLLM with the official Docker image and an OpenAI-compatible API, then scale it in production with autoscaling, failover, and multi-GPU serving.
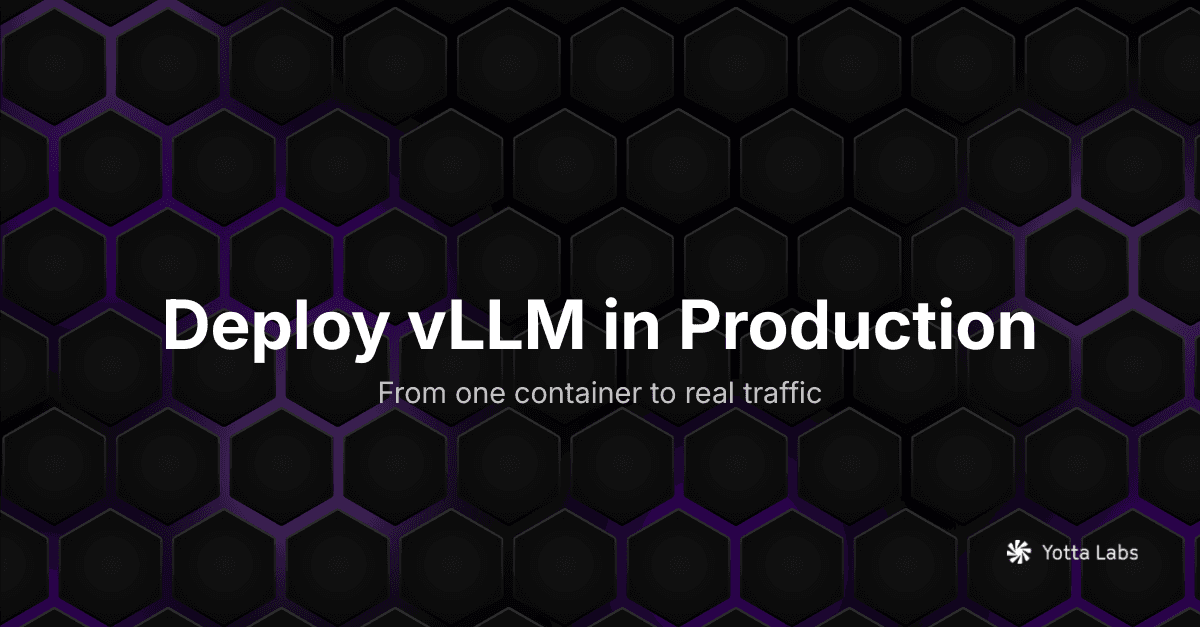
vLLM is the easiest high-performance inference server to start with and one of the easier ones to get wrong in production. Pulling the vllm/vllm-openai image and running one container gets you an OpenAI-compatible endpoint in a few minutes. Keeping that endpoint fast and available once real requests show up is a different job. This guide covers both: the Docker basics that get you serving, and the production gap that opens up the moment you point traffic at it.
TL;DR
The official vllm/vllm-openai Docker image gives you an OpenAI-compatible API on port 8000 with one command. That is enough for local testing and a single-GPU service. Production needs more: concurrency handling, GPU memory headroom, autoscaling, failover, and a plan for cold starts when you scale to zero. The first half of this post gets you running with Docker. The second half is what changes when the endpoint has to stay up.
Why vLLM and why the OpenAI-compatible server
vLLM is an inference and serving engine built around PagedAttention, which manages the KV cache in non-contiguous memory so you can pack more concurrent requests onto the same GPU. In practice that means higher throughput per dollar than naive Hugging Face serving, which is the whole reason most teams reach for it.
The piece that matters for deployment is the OpenAI-compatible server. vLLM ships a server that mirrors the OpenAI API surface: /v1/chat/completions, /v1/completions, and /v1/models. That compatibility is the real unlock. Any tool, SDK, or app already written against OpenAI points at your vLLM endpoint with two changes, the base URL and the API key. No client rewrite. If you are still deciding between engines, we compared the main options in Best LLM Inference Engines and went head-to-head on vLLM and SGLang in vLLM vs SGLang.
Step 1: Run vLLM with Docker
The official image is vllm/vllm-openai. Everything is baked in, so you do not install vLLM or its CUDA dependencies yourself.
docker run --gpus all \
  -p 8000:8000 \
  --ipc=host \
  vllm/vllm-openai:latest \
  --model Qwen/Qwen2.5-7B-Instruct \
  --gpu-memory-utilization 0.90
A few things to know about that command:
--gpus allexposes the host GPUs to the container. Without it vLLM has nothing to run on.--ipc=hostgives the container enough shared memory. Skip it and you will hit cryptic crashes under load, since PyTorch uses shared memory for inter-process tensors.-p 8000:8000maps the server port. vLLM serves on 8000 by default.--gpu-memory-utilization 0.90tells vLLM to use 90 percent of VRAM for weights and the KV cache, leaving headroom for the driver and OS. Push it to 0.95 and you risk out-of-memory errors mid-request.
When it boots, you will see the routes register:
INFO: Route: /v1/chat/completions, Methods: POST
INFO: Route: /v1/completions, Methods: POST
INFO: Route: /v1/models, Methods: GET
INFO: Application startup complete.
That is your endpoint. The model weights download on first start, so a 7B model takes a few minutes before the server is ready.
Step 2: Call the OpenAI-compatible API
Hit it with curl first to confirm it works:
curl -X POST http://localhost:8000/v1/chat/completions \
  -H "Content-Type: application/json" \
  -d '{
    "model": "Qwen/Qwen2.5-7B-Instruct",
    "messages": [
      {"role": "system", "content": "You are a helpful assistant."},
      {"role": "user", "content": "Explain PagedAttention in two sentences."}
    ],
    "max_tokens": 256,
    "temperature": 0.7
  }'
The response is a standard OpenAI chat completion object, so anything in that ecosystem just works. From the OpenAI Python SDK, you override the base URL and pass your key:
from openai import OpenAI

client = OpenAI(
    base_url="http://localhost:8000/v1",
    api_key="not-needed-locally",  # set a real key once you put auth in front
)

response = client.chat.completions.create(
    model="Qwen/Qwen2.5-7B-Instruct",
    messages=[
        {"role": "system", "content": "You are a helpful assistant."},
        {"role": "user", "content": "What is continuous batching?"},
    ],
    max_tokens=256,
)

print(response.choices[0].message.content)
If you can run those two calls, you have a working inference server. This is also exactly the setup that ranks well in tutorials and gets people stuck the moment they try to ship it.
Step 3: What actually breaks in production
A single container on your workstation and a service handling customer traffic are not the same thing. Here is the gap, in the order it usually bites.
Concurrency and GPU memory. vLLM batches requests continuously, which is great, but the KV cache is finite. Under real concurrency you will hit the ceiling of what one GPU holds, and requests start queuing or failing. You either cap concurrency, move to a bigger GPU, or add workers. There is no setting that makes a 32 GB card behave like 80 GB.
One GPU is a single point of failure. If that container dies, your API is down. Production needs more than one worker and something in front routing around failures.
Traffic is not flat. If you provision for peak, you pay for idle GPUs overnight. If you provision for average, you drop requests at peak. This is the core economics problem with self-hosted inference, and it is why static GPU allocation gets expensive fast.
Cold starts. Scaling to zero saves money but means the next request waits for a container to spin up and weights to load. For a 7B model that is minutes on a cold worker. You need to decide what latency you can tolerate when scaled down.
Big models do not fit on one card. A 70B model in bf16 needs roughly 140 GB of VRAM, well past any single GPU. You shard it across GPUs with tensor parallelism, which means multi-GPU scheduling, not just a bigger box.
None of this is a knock on vLLM. It is the difference between running an engine and operating a service. The rest of the work is orchestration.
Step 4: Deploy vLLM on Yotta Labs
This is where Yotta fits, and it is worth being precise about which product does what.
GPU Pods give you the full-control path. A Pod is a GPU container you run your own image on. You deploy the same vllm/vllm-openai image, expose port 8000, and you have a vLLM endpoint with SSH and HTTP access, logs, and live GPU, CPU, and memory metrics from the console. You manage it like a server, which is what you want when you need control over the exact runtime. Pods support custom images as long as they are built for x86 and based on Debian or Ubuntu (per the GPU Pods docs).
Serverless gives you the autoscaling path. Yotta Serverless runs your container image as a managed, scalable endpoint with elastic worker scaling, multi-region scheduling, and built-in failover that moves workloads to an available region during an outage (per the Serverless overview). This is the answer to most of the production problems above. You deploy the vLLM image, set worker count, and scale up or down with demand instead of paying for a fixed fleet.
The Serverless flow uses the same image you already ran locally. You create an endpoint pointing at vllm/vllm-openai:latest with a vllm serve initialization command, pick a GPU type and region, and the platform provisions the worker and exposes the OpenAI-compatible API. Yotta's own Serverless LLM tutorial walks the full sequence, including the two service modes worth knowing:
- ALB mode proxies requests to the worker in real time. Use it for synchronous, low-latency chat and completion calls.
- QUEUE mode queues requests and returns results asynchronously by polling or webhook. Use it for batch jobs and long-running generation.
Scaling workers is a single call once the endpoint is live, so you adjust capacity without redeploying.
Bring your own image
If your service needs extra dependencies, build on top of the vLLM base. The pattern Yotta documents starts from the same image and adds what the platform needs:
FROM vllm/vllm-openai:latest

ENV DEBIAN_FRONTEND=noninteractive

# OpenSSH is required for SSH access on the platform
RUN apt-get update \
    && apt-get install -y openssh-server \
    && apt-get clean \
    && mkdir -p /run/sshd \
    && chmod 755 /run/sshd

# Port 22 is required; 8000 is the vLLM API
EXPOSE 22 8000
Build it, push to a registry, and pull it on Yotta as a template.
Running models too big for one GPU
For anything past a single card, set the GPU count to 2 or more and add tensor parallelism to the vLLM command:
vllm serve meta-llama/Llama-3.1-70B-Instruct \
  --tensor-parallel-size 2 \
  --gpu-memory-utilization 0.90
vLLM shards the model across the GPUs. On Yotta you request the matching GPU count when you deploy, and the platform handles placement.
Where this gets harder
A few honest limits so you go in with eyes open.
Cold starts are real on any scale-to-zero setup, Yotta included. If you scale workers to zero to save money, the first request after idle pays the spin-up and weight-load cost. If you need consistent low latency, keep a warm worker, which costs more. There is no free version of this tradeoff.
Quantization helps but is not free. AWQ or GPTQ variants cut VRAM and can raise throughput, which lets you serve bigger models on smaller GPUs, but quantized models can lose quality on some tasks. Validate output on your own workload before committing.
GPU availability varies by type and region. The exact GPUs and regions on offer change, so confirm current availability in the console before you architect around a specific card.
And if you would rather not operate an inference server at all, that is a legitimate choice. Yotta's AI Gateway gives you an OpenAI-compatible endpoint to hosted models without deploying anything. Self-hosting vLLM makes sense when you need a specific open model, custom weights, or control over the runtime. If you just need a model behind an API, the Gateway is less work.
FAQ
What is the difference between vLLM and the vllm/vllm-openai image?
vLLM is the inference engine. The vllm/vllm-openai Docker image is the engine packaged with an OpenAI-compatible API server, so you get the /v1/chat/completions style endpoints out of the box without building the server yourself.
Do I need to change my application code to use a vLLM endpoint?
No. Because the server is OpenAI-compatible, you change the base URL to your endpoint and set the API key. Existing OpenAI SDK code works unchanged.
Why does my container crash under load?
The two common causes are missing --ipc=host, which starves PyTorch of shared memory, and --gpu-memory-utilization set too high, which leaves no headroom and triggers out-of-memory errors. Start at 0.90 and add --ipc=host.
How do I serve a model larger than my GPU's VRAM?
Use tensor parallelism. Set --tensor-parallel-size to the number of GPUs and request that many GPUs when you deploy. A 70B model in bf16 needs roughly 140 GB, so plan for multiple cards or a quantized variant.
Should I use Pods or Serverless on Yotta for vLLM?
Use Pods when you want full control and a long-running server you manage. Use Serverless when you want elastic scaling, multi-region scheduling, and failover without operating the infrastructure yourself.
How do I cut cost when traffic is uneven?
Scale workers down during low traffic instead of running a fixed fleet sized for peak. Serverless makes this a scaling decision rather than a redeploy. The tradeoff is cold-start latency when scaled to zero.
Is the OpenAI-compatible API the same as Yotta's AI Gateway?
No. The vLLM OpenAI server is your own deployed endpoint. The AI Gateway is a managed aggregator that gives you one OpenAI-compatible API across hosted models without deploying anything.
Bottom line
Getting vLLM running with Docker is a one-command job, and the OpenAI compatibility means your existing code points at it with no rewrite. The work is everything after that: concurrency, failover, scaling, and cost. Pods give you the control path and Serverless gives you the autoscaling path, both running the same image you tested locally.
Deploy a vLLM endpoint on Yotta from the console, follow the Serverless LLM tutorial for the full sequence, or check pricing before you size your GPUs.